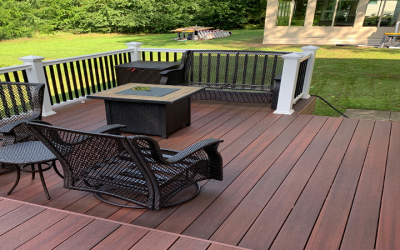
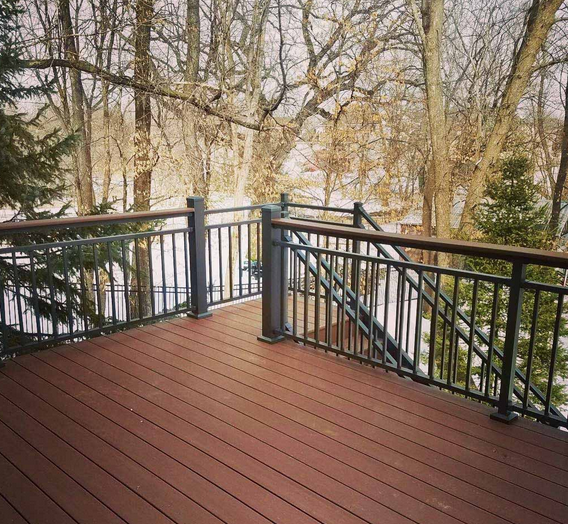
Many serious do-it-yourselfers can handle the project of replacing a deck. This is true because the job does not requiring digging out or installing posts or making joist or beam calculations. The job often simply involves replacing old boards with new boards.
Step 1 – Remove Old Deck Boards
The first step is to take out the old deck boards in order to perform inspection of the underlying beams, joists, and posts. From what is found with those elements, any required repairs or replacements must be made before the installation of new deck boards.
Step 2 – Inspect
After the removal of decking, the frame will be visible. At this point, perform an inspection for any structural damage. First check the deck-to-house connections. Tight all fasteners that serve as these connections. Identify any rusted, bent, or missing flashing. Also, check for any black stains in the vicinity that may indicate an infiltration of water into the home.
Check the joists by first pushing the tip of a screwdriver into a post or joist. If you can sink it in, rot is present. Make sure the framework is square and level. This can be done by placing a level on a joist or beam that is perpendicular to the house. Repeat this on other boards to determine if there is dip or bow in the framework. Measure opposite corners of the frame to make sure it is square. Secure the frame with some temporary braces until you have installed enough deck boards to lock the frame in place.
Step 3 – Lay the Deck
After the joists and beams have been replaced or repaired and the frame is square and level, you can start laying the deck.
Lay the first board carefully – not at an angle. Check your progress as you go. You should space the deck boards at about 1/8 inch apart which will allow water to drain through the deck and allow for seasonal contraction and compaction of composite boards. Let all the boards run long when installing decking so you can trim them all to length in a single pass.
Step 4 – Finish the Outside Edges of the Deck
This is an important step in order to form the borders of the outside space and hide the fluted bottom edge of the decking.
Step 5 – Straighten the Decking
Perform any necessary straightening of the decking during the installation process.
With these steps complete, you should have a deck that able to look good and function properly for many years.


